BloomStruck


Journal Entry No.4
The Summertime Swing

In my last journal entry I talked about a number of things afflicting my garden. While there have been some improvements, this year still feels like a bizarre unfolding nightmare, and after speaking with my neighbors recently I realized that this isn't my battle alone. This past weekend we flushed a skunk out from underneath our deck which then attempted to take residence under my neighbor's deck. I am awaiting my other neighbors return from their vacation to notify them that they also have yet another skunk living under their shed (which is situated directly beside my courtyard garden, so it's been leaving turds all over the place). Our house is literally fla
nked by skunks, as you can imagine, I seldom get the opportunity to open my windows anymore. And speaking of our skunk, it was only a few weeks earlier that I had to flush out a groundhog from the same space under my deck! It had dug a large hole beside the extension foundation which is obviously not good. We backfilled it with gravel and reassembled the deck on a very hot afternoon. I was not pleased. Which reminds me...a few months earlier than that we had to racoon proof our roof after one squeezed into the extension! The wildlife has gone, for lack of a better description, ape shit. Perfectly ape shit. I don't know where any of our natural predators have gone. We once had a number of very large predatory birds nesting in the area and I have not seen one in ages. My husband theorizes that the construction has scared them off, and has allowed our rodent population to proliferate, which explains the incessantly increasing number of chipmunks, squirrels, moles, voles, shrews and what have you.

We did set up a number of snap traps. Now, where I live it is illegal to trap and remove animals from one environment to another. I think this has something to do with maintaining eco-systems. Some people believe it renders the animal "homeless" and causes it to die a slow and painful death because it can't adapt to its new surroundings. Either way, I don't want to get fined, so we endeavored to use snap traps and we have experienced some success with them. Unfortunately it's both time consuming and gross. I'm at a point where I go out every few days, set them up and empty them a few times that day, and then I take a break from it. I'll have a few days where I see no rodents scurrying about, then they appear to forget all about the traps and come back. It comes and goes in waves but when I manage to get the numbers down I see improvements in spades. Less holes dug, less destruction, more flowers! I still have to drape my rose bush in netting, though, and it looks awful. I sincerely hope next year we see an upsurge in predatory birds and things go back to normal. 

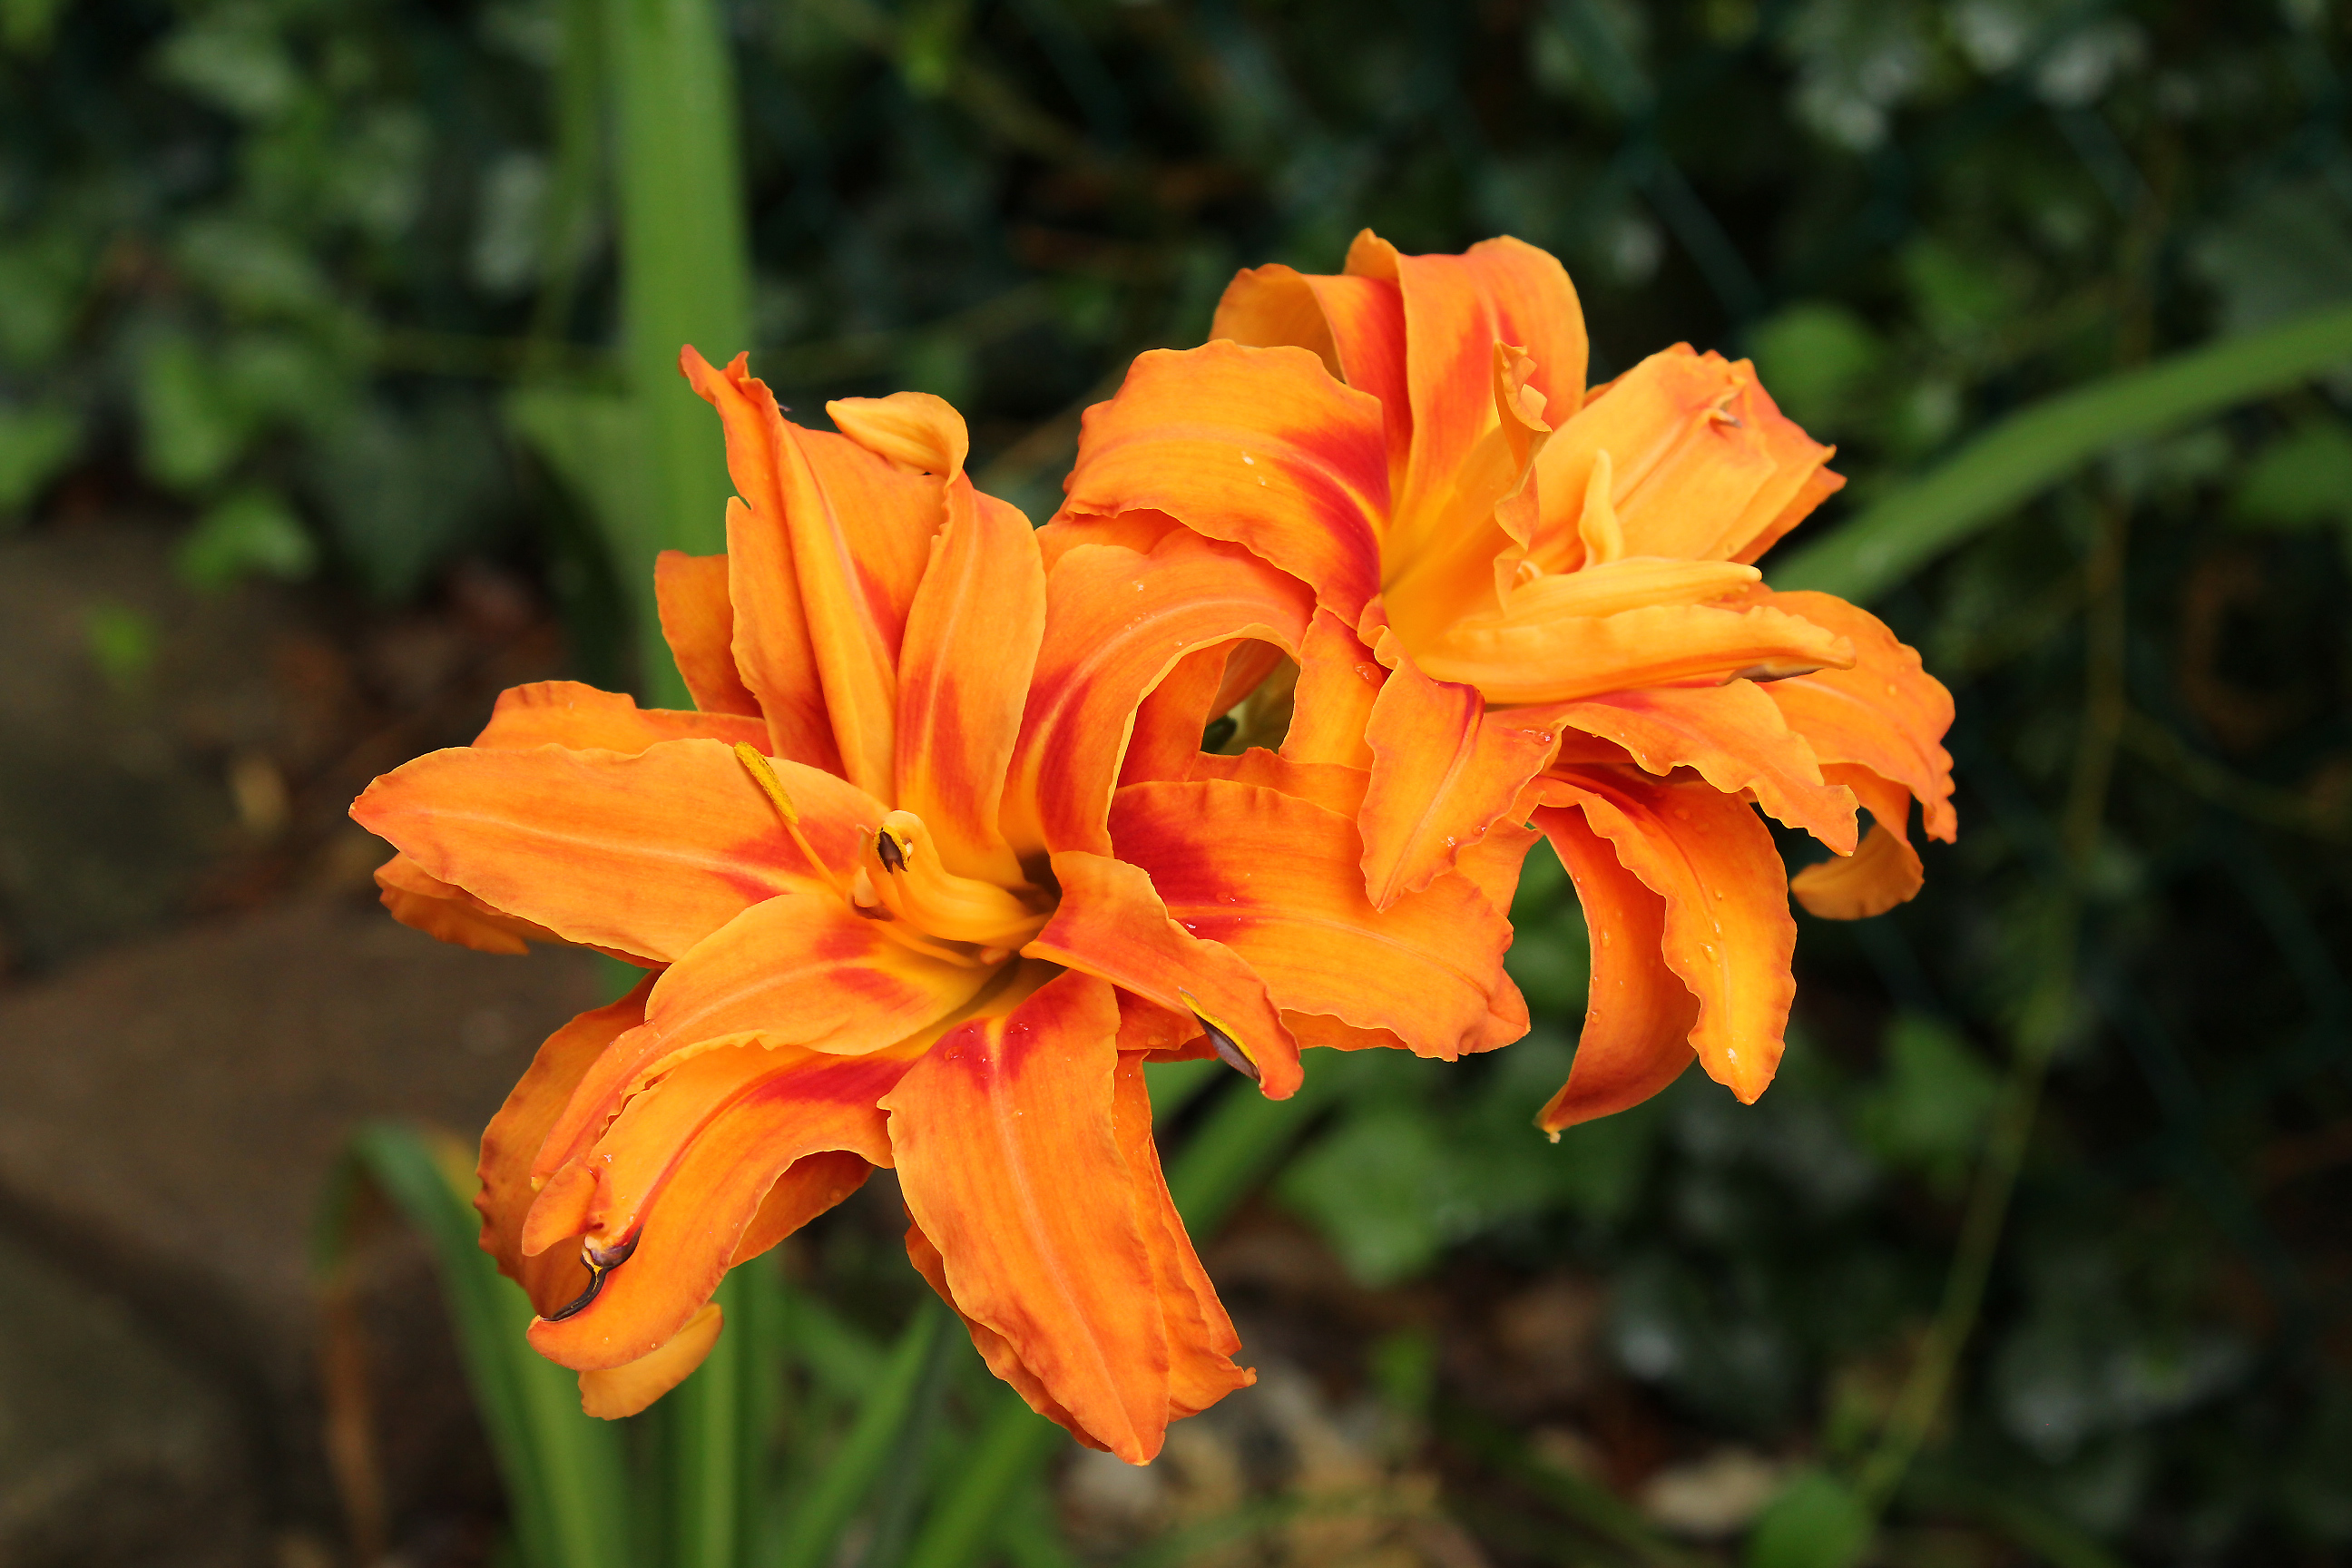
Some good news is that my hydrangeas are mostly performing well. Namely the Wee Bit Grumpy and the Bloomstruck I planted last year (photo above). Also my Invincibelle Limetta looks quite lacey and contrasts beautifully with the variegated hostas and the magenta and fuchsia flowers I've planted nearby. I'm sad to say that my Princess Diana daylily was beheaded so I won't be seeing any blooms this year. My pink astilbe, which promised several heads of blooms for whatever reason flopped over and dried up (despite the foliage being okay?). I also have doubts my Visions in Red will bloom, either. The forming buds have dried or stopped growing entirely. My back garden beds look sadly sparse. The balloon flowers on the other hand are full and blooming in excess! They bring a lovely touch of periwinkle to the back garden which matches my patio rug. I will be buying more of them and filling in the spaces where nothing seems to grow. The daylilies that came with the house are also blooming nicely this year. After we take the cherry tree down I imagine this will only improve with the amount of sunlight they receive.


I have much to do in the garden but our primary focus right now is finishing our basement. It's been a massive undertaking spanning two years. This is okay because we are in the midst of a heat wave and I spend less time outside when it's unbearably hot. Today we're facing humidex temperatures of 40°C. It wasn't so bad this morning but once the sun rises the cool humidity becomes thick and unbreathable. Thankfully it rained yesterday so no need to water the plants. We had a terrible dry spell recently, I shudder to think about our bills lol.

For now I am awaiting the blooms of my Mango Salsa OsoEasy shrub rose, and a bushel of Chinese Forget-me-not which looks so lovely in its uniform periwinkle blue. Also, the morning glories I have planted throughout the garden are starting to produce. It took longer than I thought but I'm thrilled to see them! They are one of my favorite flowers. I'm trying Moonflowers this year and I'm positively excited to see what they look like. There are still adventures to be had in the garden! Not much longer now and it will be autumn, so I take my wins where I can get them. 

Happy Gardening!


Beauty Bush


Journal Entry No.3
Beauty Bush: An Evening Stroll

The above photograph was taken while out for an evening stroll a week or so ago. My parents own a beauty bush, so I instantly recognized this flowering shrub cascading over the walkway. It was in full bloom, resplendent and sumptuous! And the scent was intoxicating. Unfortunately beauty bushes are just one of those plants that are so ephemeral they end before the begin, much like tulip magnolias. I could already spot the blanket of confetti forming beneath it, but this does not undermine its beauty, it only adds to the shrub's ephemeral, delicate quality. 


I have had a trying few weeks since my last journal entry. There have been triumphs and absolute disappointments. Let's start with the good before descending into the bad. For one, I am thrilled to see the return of my dianthus. Last year our neighbor took the initiative and began cutting down the invading white mulberry. It is about two thirds of the way complete but I have significantly more sunshine in my bed than ever before. As such, I've seen a renewed life in many of my previous plantings. The lush magenta blooms of the dianthus are plentiful and eye catching. I have decided, as such, that I will be adding more dianthus to this bed next year when the time for revision arrives. And revision is inevitable. I have planted far too many plants too close together, again. I tend to make this mistake in the spring because I underestimate the growth rate of the pre-existing plants. I plan on bumping back and dividing the hostas, pulling the dianthus forwards, and not planting so much along the fence line. I used to think dianthus was a rather boring plant but now that I've seen what it can do I can envision a long and full crop of them bursting with colour. Most of these changes will begin in the fall. 

I have plans to change out the pavers in the courtyard garden, which will give it a refreshed aesthetic but it will also allow me to correct drainage problems and create the clean edging that I've been craving. Over time our pavers have sunk and shifted, and the flower bed is now too high which causes the unsightly mulch to migrate onto the patio stones. I had planned to undertake this project in the spring but we have the gas company coming in to replace the lines so I'll have to wait until fall. I'm going to recycle the old pavers onto the other side of the house where there is an atrocious amount of weed growth. Grass doesn't grow there, only clover, so I'm hoping that by laying down the pavers and some substrate it might correct this problem. My husband and I have also discussed at length the possible benefits of pouring a cement slab by the driveway gate, it would address the overgrowth problem while providing us with extra storage for a small trailer hitch or another shed for garden tools. We currently use our only shed in a mixed way, we use it to store both seasonal décor as well as tools and it's getting quite crowded. With the inevitable creation of more garden art I will need additional storage space.

On a pleasant note, my hydrangeas are  developing blooms in spades. The Annabelle I planted last autumn is producing copious bloom clusters, my mother warned me that it would, she has one that's about six feet wide and four feet tall. Mine is easily twice the size it was last year. It doesn't like the afternoon sun, though, which is a shame because it's the only sun it gets. When it's not wilting under the sun's rays it perks up nicely and makes for a good full shrub. Baba's hydrangea is starting to turn colour (photo left), I will post photos when it changes completely. This is a new hydrangea cultivar and I'm excited to see it in person for the first time. For now it has only slight kisses of fuchsia. I love the contrast of the variegated hostas with the hot pinks in this part of the garden, and I'm really hopeful that the shrub clematis produces many dark purple blooms this year given it's already three times the size it used to be. The spring blooms in my garden have all but dropped which leaves my Nori memorial bed looking somewhat barren at the moment. I have a lovely pink lily coming up, I did have three but...they were eaten.

Which leads me to the bad news. It's as if some horrible storm is brewing in the garden this year. Pests abound. Sun and rain have created perfect weed growing conditions but somehow it's also been a breeding ground for animal pests. I don't know what tipped the scale in this direction but the garden is overrun with snails, bugs, voles, chipmunks, and squirrels. The only thing that hasn't shown up, knock on wood, is mildew and disease. But it has taken a devastating and literal toll on my health. Every day I come out and something has been destroyed. The chipmunks have eaten many of my plants; they chewed the buds off my rosebush so that it never blooms, killed the only viable teddy sunflower I had - which was beneath a cloche, dug up and eaten all of my spring bulbs, dug up and killed various plants by damaging their root systems. It has been an outright nightmare. They, and possibly the birds, have eaten the several thousand cherries I had growing on my tree, and I find that odd because it didn't happen last year. After that painful discovery the only hope I had left was my peach tree which is now dropping peaches left right and center. I tried to protect it with a bird net which has helped keep the pests largely at bay but my peaches began oozing a clear gel and now I find them dropped and scattered about, rotting at the bottom of the net.

It has been a slew of disappointments and I can't help but take it personally. Every time I come outside something that I was greatly anticipating to see ends up beheaded or killed. I've lost a good chunk of change on it, too, which coming from a single income household that's not a very nice thing to go through. I don't want to fork out a few hundred bucks every year to feed the wildlife. We're taking what some may view as rather extreme measures, but we will be setting out not so nice traps. At this point if it's a rodent I don't feel like treating it any differently than the mice in our extension that we've been killing for so long. Chipmunks have destroyed the water fall feature, are destroying my shed, and chewing on the outdoor electrical features. They've got to go. All touchy feelings aside... When the stress landed me in the hospital this last weekend, I promised myself I wouldn't let it go any further. 

Hopefully once we can get their numbers down I might reclaim my garden and stop hemorrhaging money. There are times when I go to bed worrying that they're going to dig up my cats' ashes, or ruin the memorial plantings or destroy my garden art. What was a soothing and productive pastime has been a great source of anxiety for me. I am not going to abandon my garden of course but while we eradicate the rodents I think I might take a break, turn inwards for awhile, focus on self care and just accept defeat this year on some things. It's not how I envisioned 2022 coming in.

How are you dealing with garden pests? Any tips or tricks would be greatly appreciated.


Book Review: Creating Garden Accents


A Book About Garden Art


My husband must think I'm curating my own little library with the number of books I've ordered or purchased second hand within the last few weeks. I tend to have a lot of spare time when the summer starts up, not for any reason related to summer scheduling, though. I'm a disabled woman who mostly keeps the house while her husband works so my free time is as ample as I allow it to be. The reason I find myself with more time on my hands is exclusively because of how hot it gets. If it's too humid all my house reno work grinds to a halt. We're in the midst of painting, the basement is too humid to paint right now, plus the AC kicks up a lot of cat hair. As such I have some free time on my hands, and today is unbearably hot. There is nothing else I'd rather be doing when it's too hot to go outside than hole up indoors reading a book in the cool embrace of air conditioning. Unlike lazing around watching TV, reading feels more rewarding and like I've actually accomplished something. I read all kinds of different books, some fictional novels, and sometimes non-fictional instructional or inspirational books, like the one I'm reviewing today, Creating Garden Accents by Jerri Farris and Tim Himsel (published in 2002).

I own several other books by Farris and Himsel, I didn't even know until recently! They paired up with Black and Decker to produce a handful of home improvement books. Most of their books revolve around the garden or patios, decks and fences and sometimes home decor. And that's how I found out about Creating Garden Accents, it was suggested in the back catalogue of another Farris and Himsel book. I have personally found garden art to be one of the hardest subjects to get information on. Pinterest used to be a good resource, maybe back in 2010 when it was bustling with users and creativity abounded, but when I try to use it now I often get the same pins recycled in my feed over and over again. I thought perhaps a community of garden artists might exist somewhere online but I've yet to find it. Instead I'm blazing the path, hoping someone will find me here and we can share ideas and inspire one another. And that's why I bought this book, so I could have someone else's creativity ignite my own and maybe make some cool new garden décor.


This book is not short on ideas, there are twenty-two step by step projects inside, all in colour photographs. Not every step is shown in photographs, some are written only, and some of the final projects are merely illustrated. I suspect they had difficulty photographing the rabbit trellis or the turtle ornament, or maybe they just wanted to include their artistic drawings which in themselves are well executed. I didn't get a preview of what would be in the book before buying, but there are several of the projects included on the front and back cover. Namely the bench, the chandelier, the bird bath and the rabbit trellis. It was enough to spark my interest and I thought I'd take a chance and find out what other goodies awaited me in the pages of this now vintage book.

First, let's talk difficulty level. There is no specific skill set required to make garden art, each piece is a reflection of the artist, art is subjective and artistic mediums vary substantially! You may recycle plastic, or weld junk metal together, or glue glass beads into your fence. The only rule is there are no rules! I'm a visual art grad so I have experience meddling with most mediums, but even I felt some of the projects in this book bordered on the more difficult side. I'd say an easy garden project might be something like the homemade bird feeders we made in elementary school, where you smear peanut butter on a pinecone and dunk it in seeds (I don't recommend doing this as I've since learned it is bad for the birds). If it requires few materials and it's not complicated to make then I'd call it "easy". If it requires some degree of knowledge in tools and materials and takes more than two hours to put together I'd classify it as "medium" difficulty. If it's more niche, requires buying a specific tool that's not already in my collection and takes a variety of materials or the materials are expensive then I classify it as "hard" difficulty. This book skirts between medium and hard difficulty, and I would not recommend it for beginners. If you've never touched a power tool before, this book probably isn't for you.

That being said, the projects are plentiful and interesting. Some notable ones are pictured here in my post. I like the carved stone, the upcycled "door spring bug", the yin-yang fountain, and the copper sprinkler. They are all things I hope to try in the future. There are a few wood working projects for benches, a swing, and a decorative bird house, too, but I'm not much into wood work. Then there are all of the copper projects; candelabras, a miniature bed frame, a gate, a weather vane, and a trellis (they call it a bean cage). If you have the opportunity to read more of Farris and Himsel's books you will quickly realize their obsession with copper. And I mean obsession. Copper projects make up almost half of the projects in this book, and while I find copper whimsical and beautiful to look at, I don't imagine it's altogether easy to work with or even affordable at this point. Copper might have been fairly cheap back in 2002, but I priced out the copper chandelier - not including the cost for all the tools that I don't yet have - and it came up to $200 CAD. In fact one of the listed supplies was only a guess on my part because they no longer carry whatever it is the book is referring to (that's not too surprising given that US hardware stores carry significantly more than our Canadian counterparts, so it's probably a specialty item in these parts).


The cost of the copper isn't the only prohibitive aspect, the copper and several other projects in the book use a blow torch! I've never touched one before, even if it was a small torch I really don't have the set up for it. I read in another book that they advise you use a sheet of galvanized metal as a kind of work bench to protect your space from catching on fire. Well, I don't have a work room or a garage so I guess I'm SOL. I'd really love to try the copper sprinkler, it's something I've always wanted, but I'm not sure I could even find the supplies or the space to make it in! It really makes me wish that my city had a creative hub center where I could rent tools and workspace by the hour. Oh well!


I recommend this book if you like more challenging projects that have a real wow factor, but I do wish they had sectioned it off and included more beginner friendly items and didn't go all in on the copper. There are certainly many exquisite looking pieces that I'd love to own but couldn't possibly afford to make! Still, I do feel inspired to maybe find my own way of making something special with a little bit of copper, sans blow torch.


DIY Garden Chandelier


A Garden Chandelier Upcycle

A few months ago I was out for a walk in my neighborhood when I spotted an old rusty chimenea at the curbside. There was something captivating about it but I didn't have a clue what I was drawn to, so I kept on walking. Half a block later and I was struck with an inspiration, I swung back around and picked up the lid and took it home with me. I kept it tucked under my arm because I didn't want to seem like a complete lunatic carrying around a large chimenea lid. Admittedly, it even felt a bit weird taking it in the first place! But I knew exactly what I was going to do with it: I wanted to take this innocuous, rusty chimenea lid and turn it into a glamorous chandelier.

Ever since we bought our house I have wanted a garden chandelier. Unfortunately I could never find one that was affordable or looked the way that I had envisioned. I wanted glamour but what I found was more akin to kid's bedroom décor or something you should be able to buy at the dollar store. The prices were outlandish too, $150 CAD for a 10" garden chandelier made with plastic beads. Yikes! I knew I would have to make my own eventually but I never had a concrete plan on how I was going to accomplish it. That's where the chimenea lid came in. I have seen some chandeliers on Pinterest (in fact you can see a few examples on my garden diy board). They're usually made from upcycled lamp components, often ones that already had holes for chandelier crystals. In the case of my chimenea lid, I knew I would have to make the holes myself and source the chandelier beads and crystals online.

This was my departure point. I started bookmarking several Amazon listings for replacement beaded chandelier chains and crystals. Prices varied considerably based on length and quality. Most listings are actually acrylic and cost a lot of money. You can imagine how thrilled I was when I found one claiming to be glass and for significantly less cost. I didn't know exactly how many I would need so I went for the most footage I could find, knowing I'd rather have excess and left over materials than run short. I ended up buying something like 25 feet of chain, which came with teardrop cyrstals, for under $25 CAD.

After ordering my chandelier making supplies, I started to prep my chimenea lid. It was in fairly good condition minus some rust spots. I went over the lid using a fine steel wool to remove rust and dislodge any yucky build up. Before I moved on to painting the lid, I needed to map out and mark my chandelier holes. I had divided the circumference of the lid into an even number because this is the easiest way to design the chandelier (my crystals came in multiples of four) there were sixteen holes in total. Because the chimenea lid is thin metal, I used a metal drill bit to drill the holes into the lip. Do not use anything but the appropriate drill bit for projects! A good once over with the steel wool cleans excess metal shavings after drilling. Once this was complete I could move on to painting the lid. I spray painted it using a heat resistant spray paint by Rustoleum - the only reason I did this is because I already had the paint and it matched the lid given it was, after all, apart of a fireplace. I then chose to seal it using a gloss enamel varnish to hopefully prevent it from rusting any further and making it a little easier to wipe clean.


The chandelier design itself was the hardest part. My initial idea was to create a kind of cascading spiral motif like this chandelier but on a smaller and simplified scale. It turned out my beaded chains weren't close enough together to create the proper effect, so I had to start over and restring a completely new design. Surprisingly, I made it all up as I went. I started by hanging a first row of swag beginning and ending on every fourth hole. I then overlapped it by a smaller swag in between the previous row. Then I added an additional swag row beneath that, and a column down the center of the chandelier. I then attached my teardrop crystals. It's difficult to see the design completely in the photos since there's so much competing light, but it looks gorgeous in person. It isn't hard to make either, maybe a little time consuming to put together so set aside a couple of hours if you want to try your hand at making your own. You can really make any design that pleases your eye but of course symmetry usually is the best foundation.

The effect is, as you can see, pretty spectacular. These glass crystals shine beautifully and cast rainbow prisms in the sunlight (unfortunately they came scratched and chipped but that's difficult to see and it is after all only a garden ornament). I have hung it form a shephard's hook in my sun bed and it absolutely radiates. Every time I step into the garden I'm entranced by it. Who would've thought something so seemingly useless as an abandoned chimenea lid could turn into something so opulent?


If you make one of your own I'd love to see it, hit me up on Pinterest! And if you have any questions feel free to use my contact form in the side bar (or below on mobile).


Happy Gardening!


Best of Spring 2022


Thanks for stopping by.
Happy Gardening!


The Horse Chestnut


Journal Entry No. 2
Spring's Last Hurrah

I am well aware that summer begins on June 21st but it's never really regarded that way around here. Ask anyone and they will tell you that summer starts when the unbearable humidity descends upon us. You know it has arrived when your skin becomes clammy and sticky, it's harder to breathe outside, and the skyline becomes a fuzzy haze indistinguishable from its surroundings. Precisely when that humidity will arrive varies with each passing year. Some years are better than others. I remember a few years ago we had a spring that was so cold it kept the lakes from warming completely and no one could swim in the summertime! Last year was a hot one, I recall sitting on my deck in March wearing a summer dress and conversing with my family about their plans to open up their trailer. All of my plants grew like wildfire, early wood squill, tulips earlier still. It made this year feel sluggish and underwhelming by comparison, but I'm happy that I get to enjoy my plants for longer which is sometimes the benefit of a cooler spring season. Sadly that cool refreshing weather may be coming to an end, we are now reaching the high twenties and humidex readings are into the thirties. The air feels heavy. I can sense June approaching.

Forget-me-nots


Name: Forget-me-nots
Genus Name: Myosotis
Season: Perennial, Zones 4-8
Bloom Period: Spring, summer
Light Requirements: Part Shade
Soil: Fertile, neutral PH. Fertilize with compost or slow release all purpose in spring.
Height: 6-12"
Spacing: 9-12" apart
Uses:  Good in borders and containers, woodland gardens, rock gardens and around ponds. Grows under trees and shrubs. Self seeding and naturalizes easily.
Special Interests: Attracts butterflies and bees.


Author's Notes: Although they are simplistic and relatively common, I have always loved forget me nots. They are one of the first flowering plants that I was introduced to as a child because there were several planted beneath my bedroom window. I, like many children, once used these dainty clustering flowers as bouquets for my Barbie dolls. I have never forgotten the joy of seeing them emerge in spring. In my own garden I have had great success with forget-me-nots in my shaded, woodland beds. They have done exceptionally well under the pine and oak trees where there is rich moist soil. They can be planted in full sun but are best sheltered from hot afternoons. While they typically flower in spring and summer, I have had them rebloom in the fall, too. They naturalize easily and are considered invasive in some regions, but they are not difficult to maintain. I highly recommend these plants for a beginner's shade garden.

The Cherry Tree


The Cherry on Top


This is our cherry tree. I adore its twinkling white blossoms and its sweet delicious scent that envelopes the garden. When I sit in the family room it is perfectly framed by our windows at the back of the house. I can always tell that spring is in full swing when our cherry bursts forth into swaths of pink stamens and pearly white petals. And I know that summer has arrived when the fruits mature and adorn the tree in tiny, festive glowing beads of crimson.

The Last of The Tulips

 
Journal Entry No. 1

The Last of the Tulips, The Waterfall, and Planning for the Future


Time marches on in the garden this spring. I had to say goodbye to the blooms on the cherry tree, my peach dropped rather early, and my spring bulbs have nearly run their course. The wild tulips are wilting today, which always makes me a little sad. The parrots have alternated between shades of cream and rose to electric orange, magenta, and back to soft pink again. My black tulips have grown magnificently this year after last year's poor, drooping crop. They stand tall and proud and dance on the gentle breeze that brings cool spring temperatures back to the region.

A Gardenful of Introductions


Greetings, friends!

You might be wondering who I am and what my intentions are for this blog.
Allow me to satiate your curiosity: my name is Tilly and I am new to the world of gardening.

Well, mostly new. You see I was raised around gardens. From a young age I can recall playing in the dirt, pulling the petals off of wilting tulips, drinking up the lilacs that bloomed by my bedroom window, or affectionately throwing worms at my mom. In fact, I have more memories of being outside in the garden than anything else. I loved to spend leisurely afternoons hiding amongst the cedars, pretending I was sequestered in a forest somewhere. I greatly anticipated the arrival of new blooms on each of the rose bushes, or plucking ripe strawberries by the shed. And I remember fondly that my friend next door and I would swoon over peonies, then we would cringe in disgust when we'd find them swarming with ants!